I went to Burning Man for the second time this year. I had an amazing time hanging out with so many interesting and fun people. I spent many a night dancing to the beats of the Robot Heart again, taking in 85,000 watts of pure, uncut bass: it’s where silicon touches the soul. If you haven’t been to Burning Man, this article gives the most balanced perspective I’ve seen to date.
This year I came early for the so-called “Working Man”: the days before Burning Man’s official start, when the art is built and the camps are pitched. As always, looking behind the curtain takes away a bit of the magic, but a lot of things made more sense to me. I chuckle a bit at my naiveté last year, when I thought the artwork appearing on the playa through the week was some sort of organized performance art experience. In reality, it’s just people running behind schedule and working feverishly through the night to get huge monuments erected just in time to be burned into ashes.
This year, as in my previous year, I camped with a group called The Phage, which is part of a three-camp complex known as The Institute (the other two camps are Relaxomatic and False Profit). The camp doesn’t happen without a lot of planning and preparation, but coming from Singapore, it’s hard to be very useful in pre-camp prep. So I did what I could do — make circuit boards.
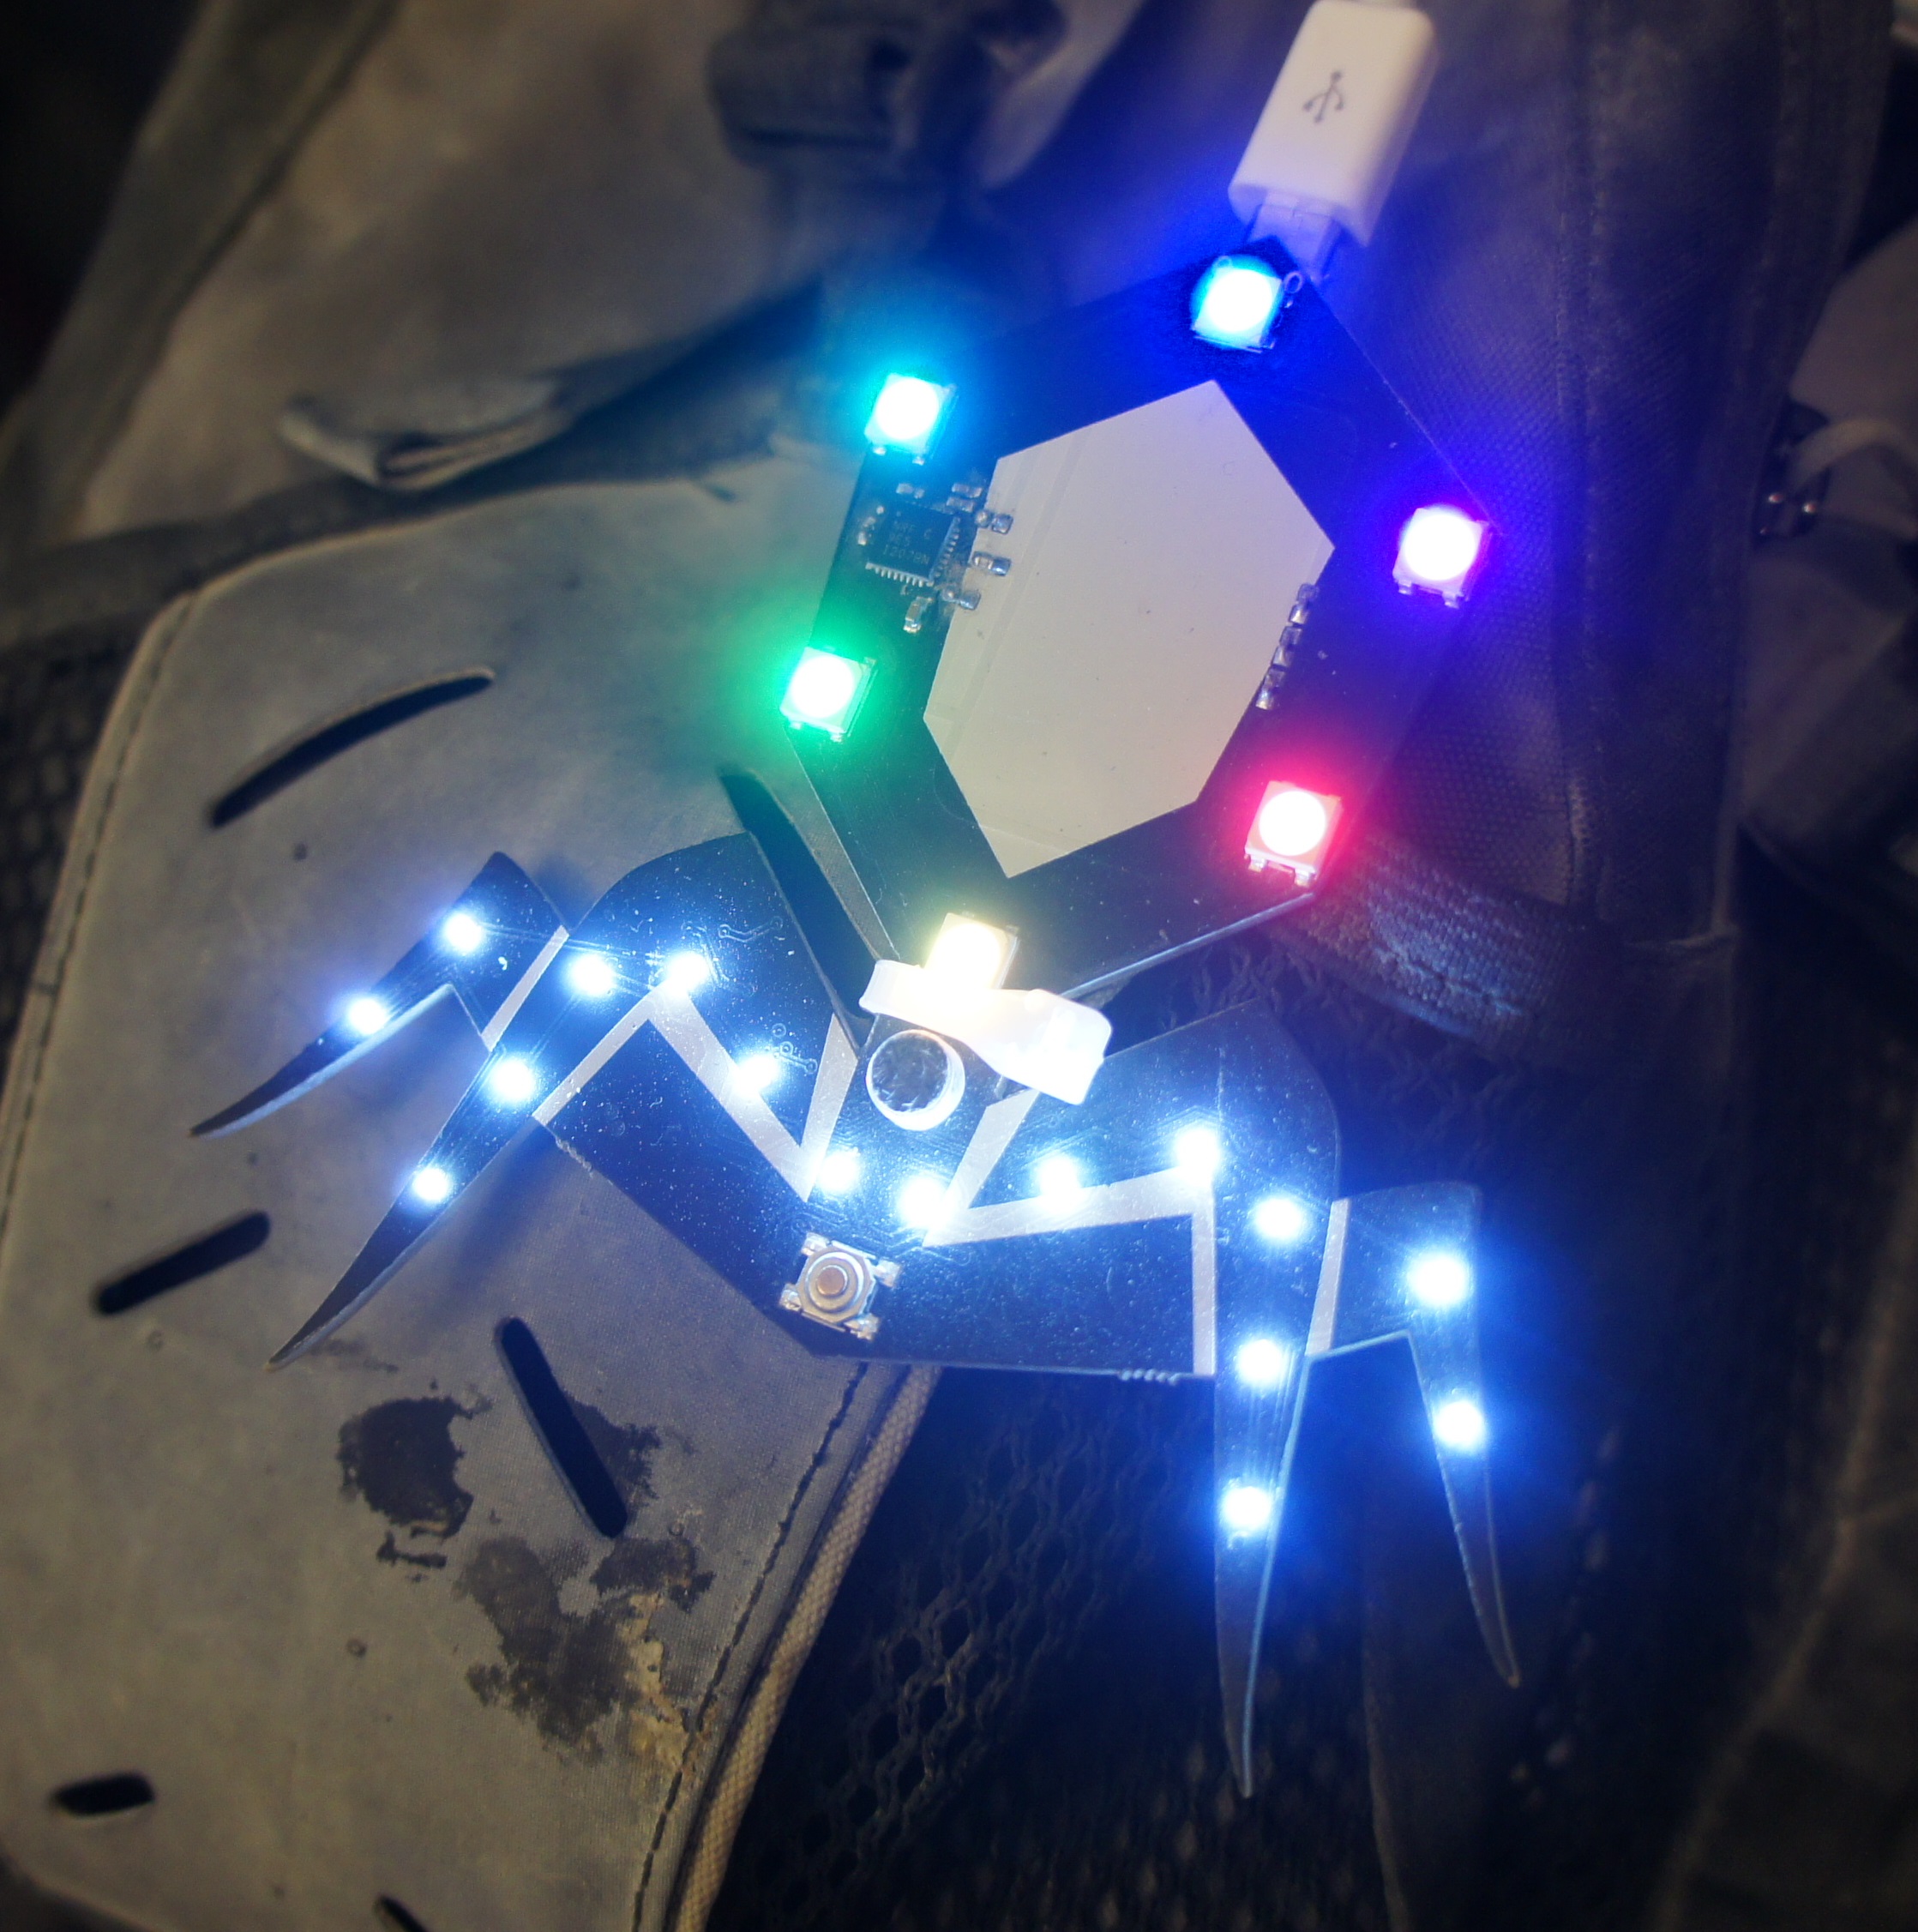
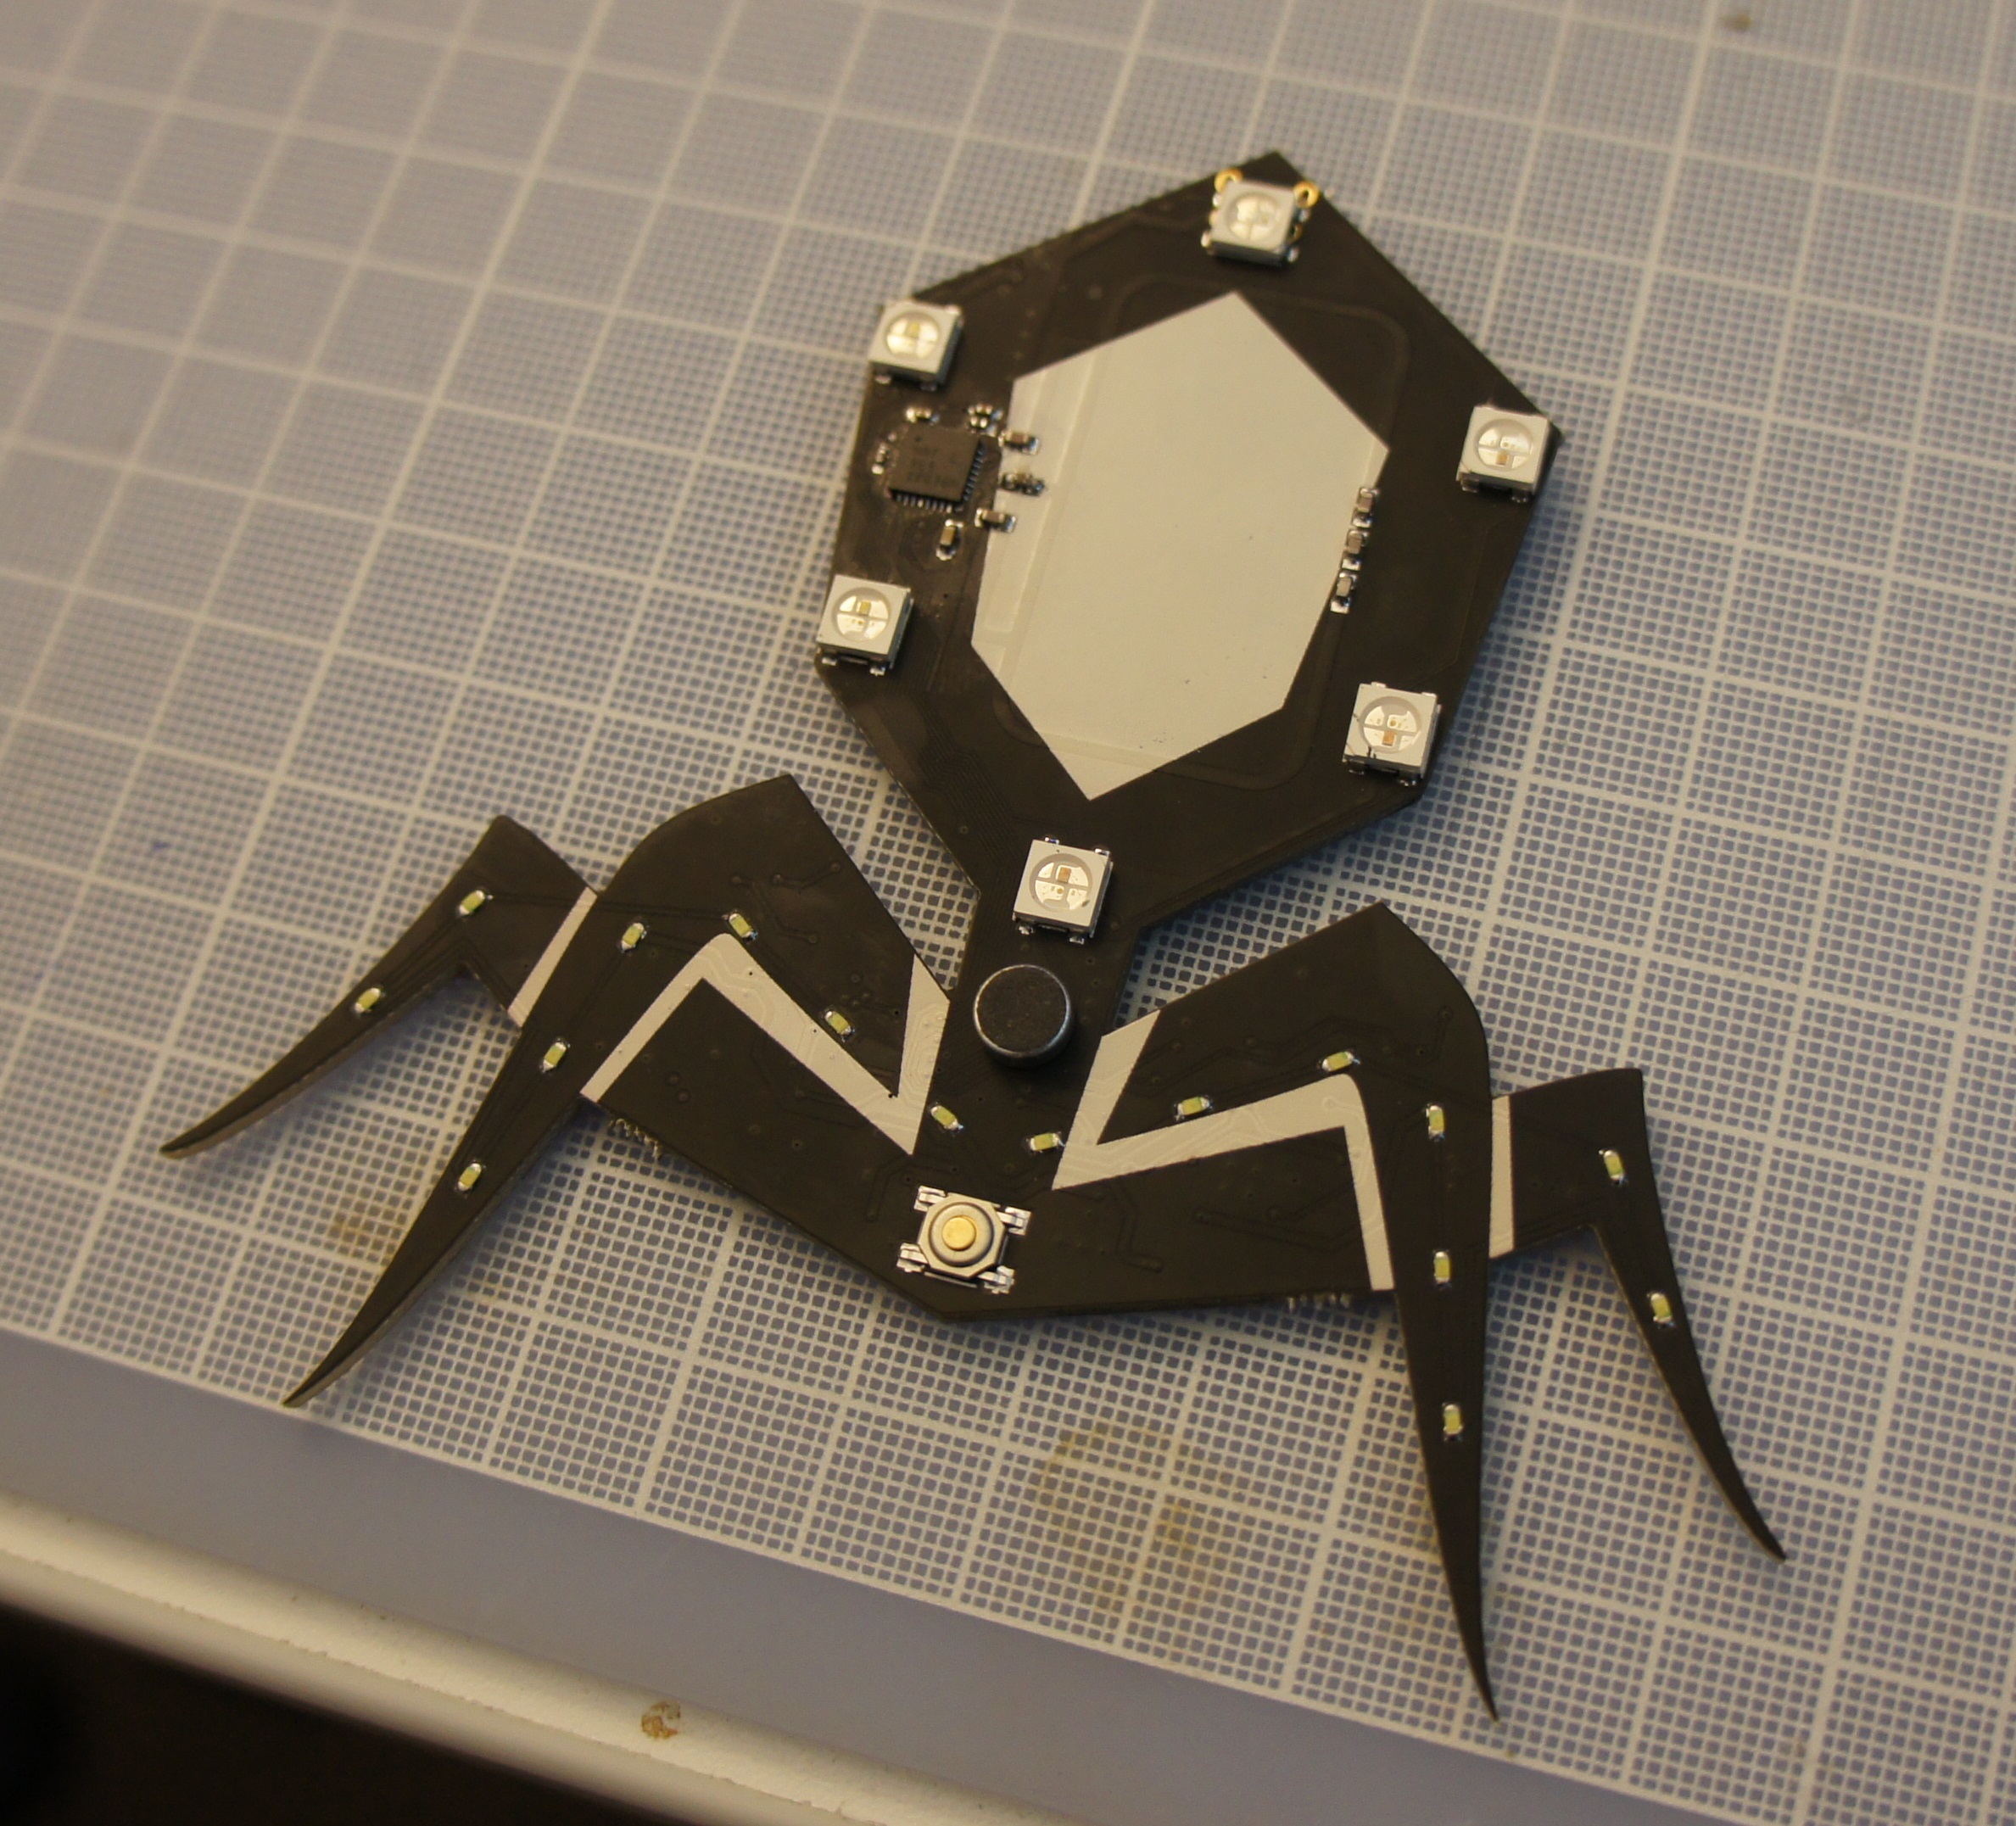
The Phage camp’s logo is a stylized version of the bacteriophage virus, so I made a custom-styled “locator badge” for our camp this year.
I also made, more or less on a whim, a small driver board for WS2812B-style LED strips.

Below is a short movie of the two in action (sorry IE & Safari users, I only do Ogg Theora).
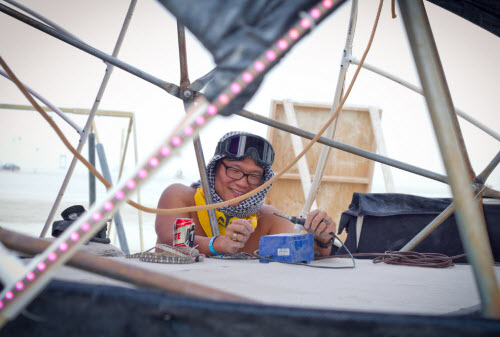
It’s a unique experience to see your creations being picked up, loved, and then utterly abused for an entire week. It’s even more amazing to get feedback from such friendly, understanding and intelligent users. I spent several splendid afternoons with a soldering iron, teaching people how to solder, as well as fixing and prodding various bits of hardware. As an old-school hacker there are few things more relaxing than sitting around on a lazy afternoon, drinking beers, soldering, and making new friends — and not having to worry about rushing off to my next meeting, completely free of the distractions of the Internet and mobile phones.
Phage Locator Badges
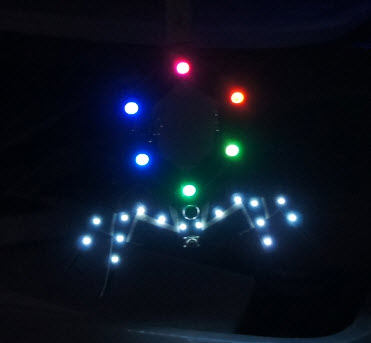
In addition to being a source of light at night, the badges have a “locator” feature. Every badge contains a 433 MHz radio transceiver. On top of this, I built a broadcast paging system so badge-wearers can press a button and cause other people’s badges to strobe in response.
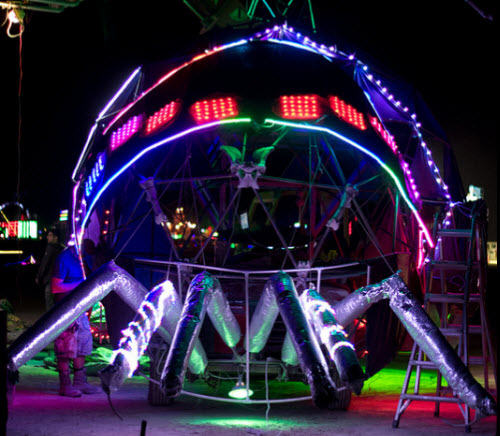
I also attached a high-gain receiver to our art car, Strangelove, so some of the art car’s LED strips would also strobe when the car’s receiver detected a locate request from a badge.

There’s also a huge flame-shooting art piece on our frontage called the “Hive Queen” (on the left in the photo above). Normally, users have to walk up to it and hit buttons to make it shoot fire. Well, after a few beers, someone suggested it would be a good idea to hack another receiver into the Hive Queen (thank you Sean Stevens for loaning me the relay breakout board!). It required a few code changes to ensure that nobody could jam the fire control solenoids on, but it worked.
It’s the first time I’ve ever built a circuit that intentionally caused fire; there’s something viscerally satisfying about remote-controlling six flame throwers at once.
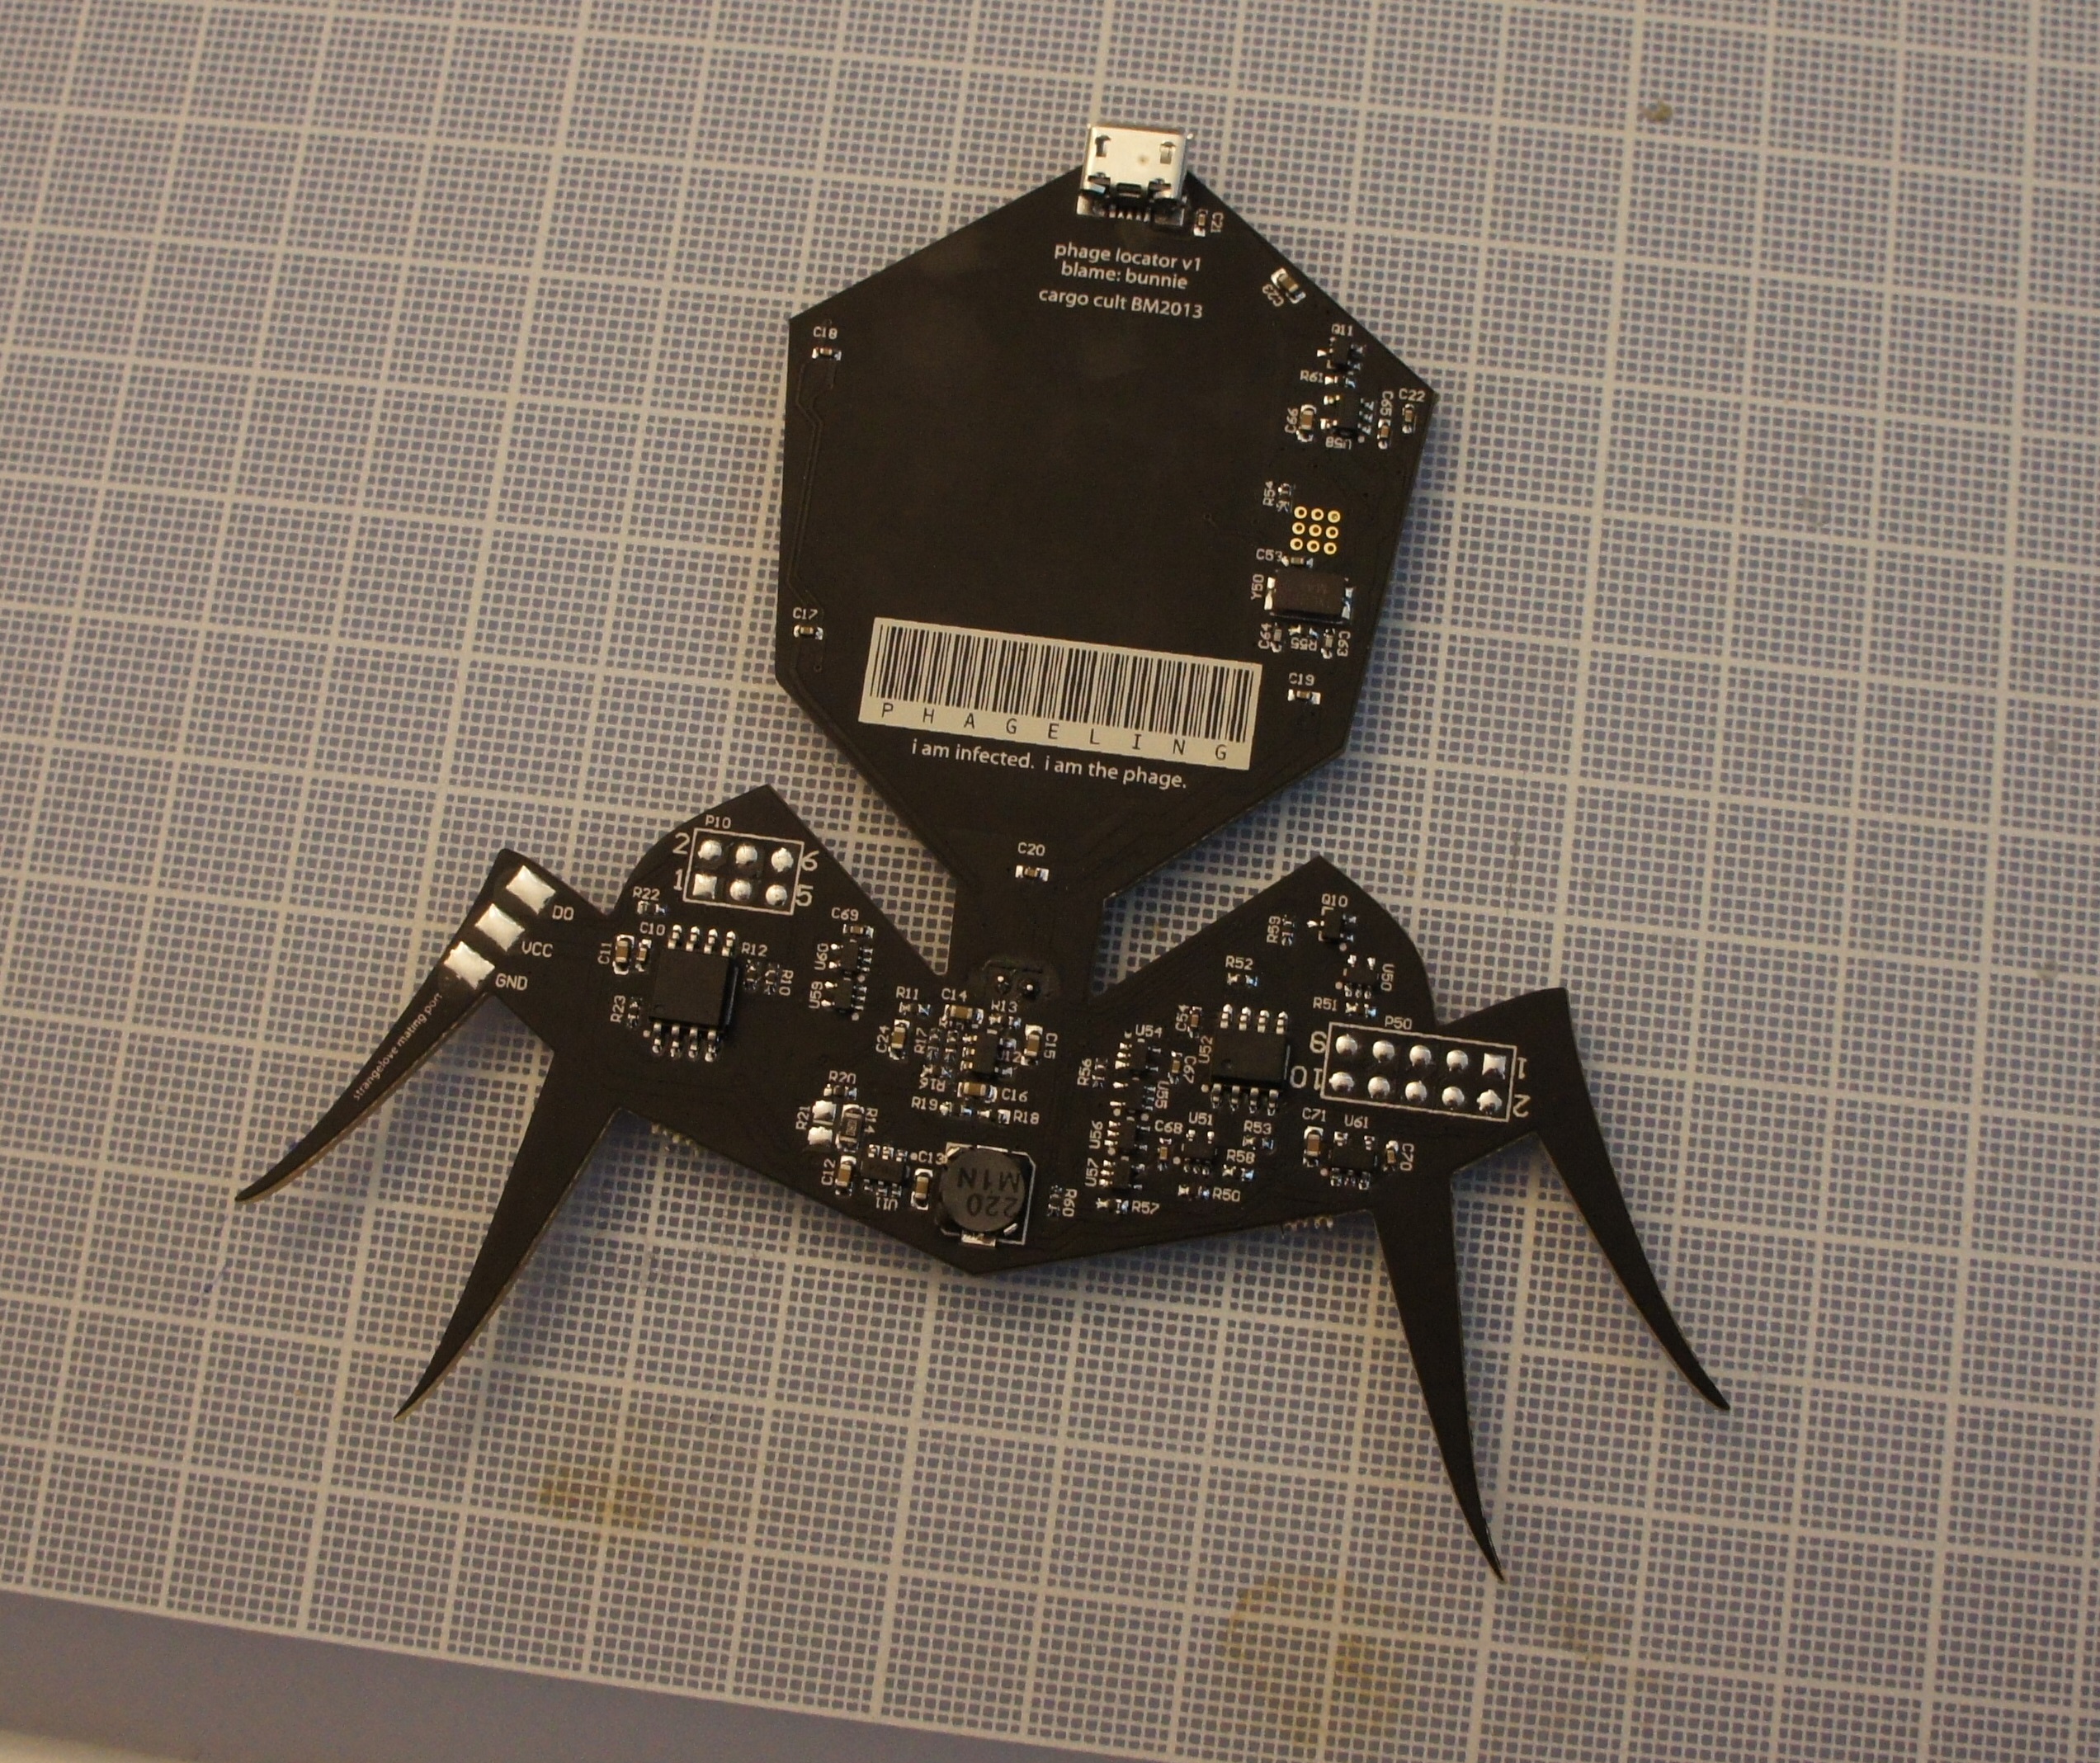
Only 50 of such badges will ever be made, but I figured I’d share the design files so others thinking about doing something similar could benefit. Click the various links for schematics (PDF), gerbers, and PCB source (Altium). You can also find all the firmware for the radio and blinky lights in the Phage git repo.
Compact LED Strip Drivers

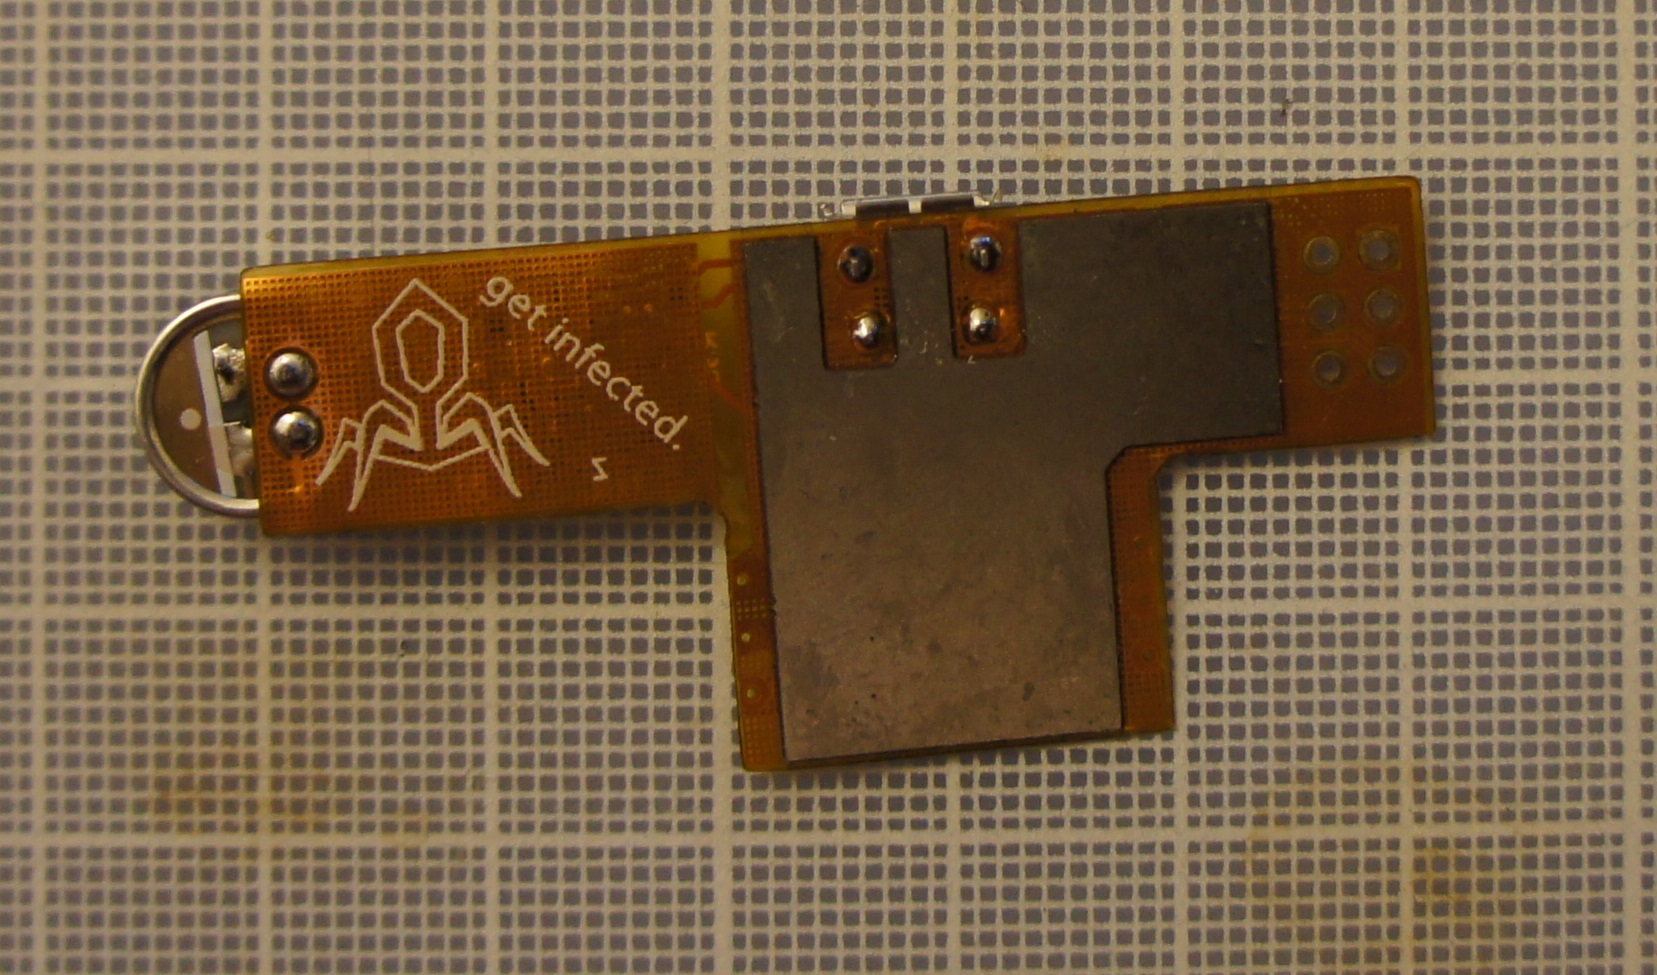
The intent behind the LED strip driver was to provide a compact and minimal way to drive cut-to-length LED strips, so that no programming is required at the point of installation. An important feature is the ability to automatically measure the length of an LED strip loop, and adjust the pre-programmed light patterns accordingly. The board was made out of flex circuit material and included a microphone circuit that you could cut off with a pair of scissors, giving an extra dimension of customization with minimal tools.
I was happy to see the number of creative ways people used the LED strip drivers — they were worn as belts, around hats, zip tied to bikes, bags, etc. It was also very instructive to observe how these things failed — at Burning Man, the strips were thoroughly used; they had to survive a week of trudging around the desert, and the repetitive stress of hours of dancing.
I’m also sharing the source for the LED strip driver I made: schematics (PDF), gerbers, and PCB source (Altium). Firmware can be found at this github repo. As a final note, I wouldn’t recommend anyone actually fabricate the designs as-is — please consider them reference material only. There are some flaws in both designs, particularly the flex LED driver. Many things went right, but I would also do many things differently now that I’ve seen how people use them. But, for those who have never done a flex PCB before, the files do give you a taste of some of the quirks that go into making a flexible PCB.
Photo credits: Thanks to Princess SRB, and to Justin Jach for sharing the Phage camp photoset on flickr!
Tags: beer, burning man, dust, solder
awesome man!
my currect project is infinity mirror (will also use this WS2812 LED strip)
That is wickedly cool. If you get a chance (and the yen to do so …) an article on the actual design process for the two devices would be tremendous. Your ideas about what the flaws in this iteration of the designs are, and what you would do differently, as you mentioned above.
Personally I would especially like to hear more about the flex design. Benjamin Jordan of Altium has a blog series (3 parts so far) chatting about flex, located at :
http://blog.live.altium.com/#Blogs/ruminating-rigid-flex-pt1
You can NOT imagine the wisdom you provide us with your designs.
Thank you.
Is that Kaminsky’s cube thingy in the background?
Yes, it is! He was also at The Institute. I actually helped him for a few minutes trace out a bad connection in the cubes Tuesday before the False Profit party while we were setting up the sound system.
I like Dan. Of course two of the most brilliant guys I know would end up in the same camp. :) Love the locator badges you made – and the phage logo is awesome, too. Great post, bunnie. See you tomorrow at MF!
How does the driver determine the length of a LED strip? Is the output of the last LED fed back to an input on the circuit?
That’s correct. Exactly one bit of data is detectable by the ATTiny if you over-estimate the length of the strip. So at the end of the bit-bang routine there’s a short assembly loop that monitors the feedback pin for activity.
I progressively increase the putative length of the strip until I see a blip on the feedback pin, and then subtract one to the actual length of the strip. If you have fast eyes, you’ll see a quick white blip when the strip powers on, and that’s the length measurement algorithm running.
Well written and on the point. thank you!
Excellent post, bunnie! Thanks for writing it up and sharing it like this. I thoroughly enjoyed meeting you and participating in your projects. The hack to rig up a locator to the Hive Queen was especially awesome! I only wish we could have run that thing more than the one night.
See you around!